Cloudflare
Our Cloudflare integration allows you to discover domains in your Cloudflare account, then add the hosts to your Hardenize inventory and begin monitoring them automatically. This synchronization updates every day, so new domains added to Cloudflare will be quickly discovered by Certificates.
Please note that Cloudflare does not support read-only access to domain name (registrar) information. As a workaround, we implemented domain discovery via access to DNS zone configuration. As a result of this, we are unable to discover registered domain names for which DNS is not configured, or for which DNS servers are not with Cloudflare.
Information required to configure the integration
To configure the integration in Hardenize, the following information is needed from your Cloudflare account. Firstly, please login into your Cloudflare Dashboard and select the account that you wish to use. We recommend that a seperate account is created and used for API token creation purposes that multiple users have to access, rather than using a user allocated account. This will avoid issues should a user leave your organization.
- Capture an identifier to use as 'Cloudflare Customer ID'.
- Cloudflare does not provide a unique account identifer in the UI, so we suggest that you make a note of the 32 character identifier that is appended to the URL when you login to your account.
- Or instead, if you have a strict and meaningful naming convention for your account name, capture this instead.
- To generate an API token:
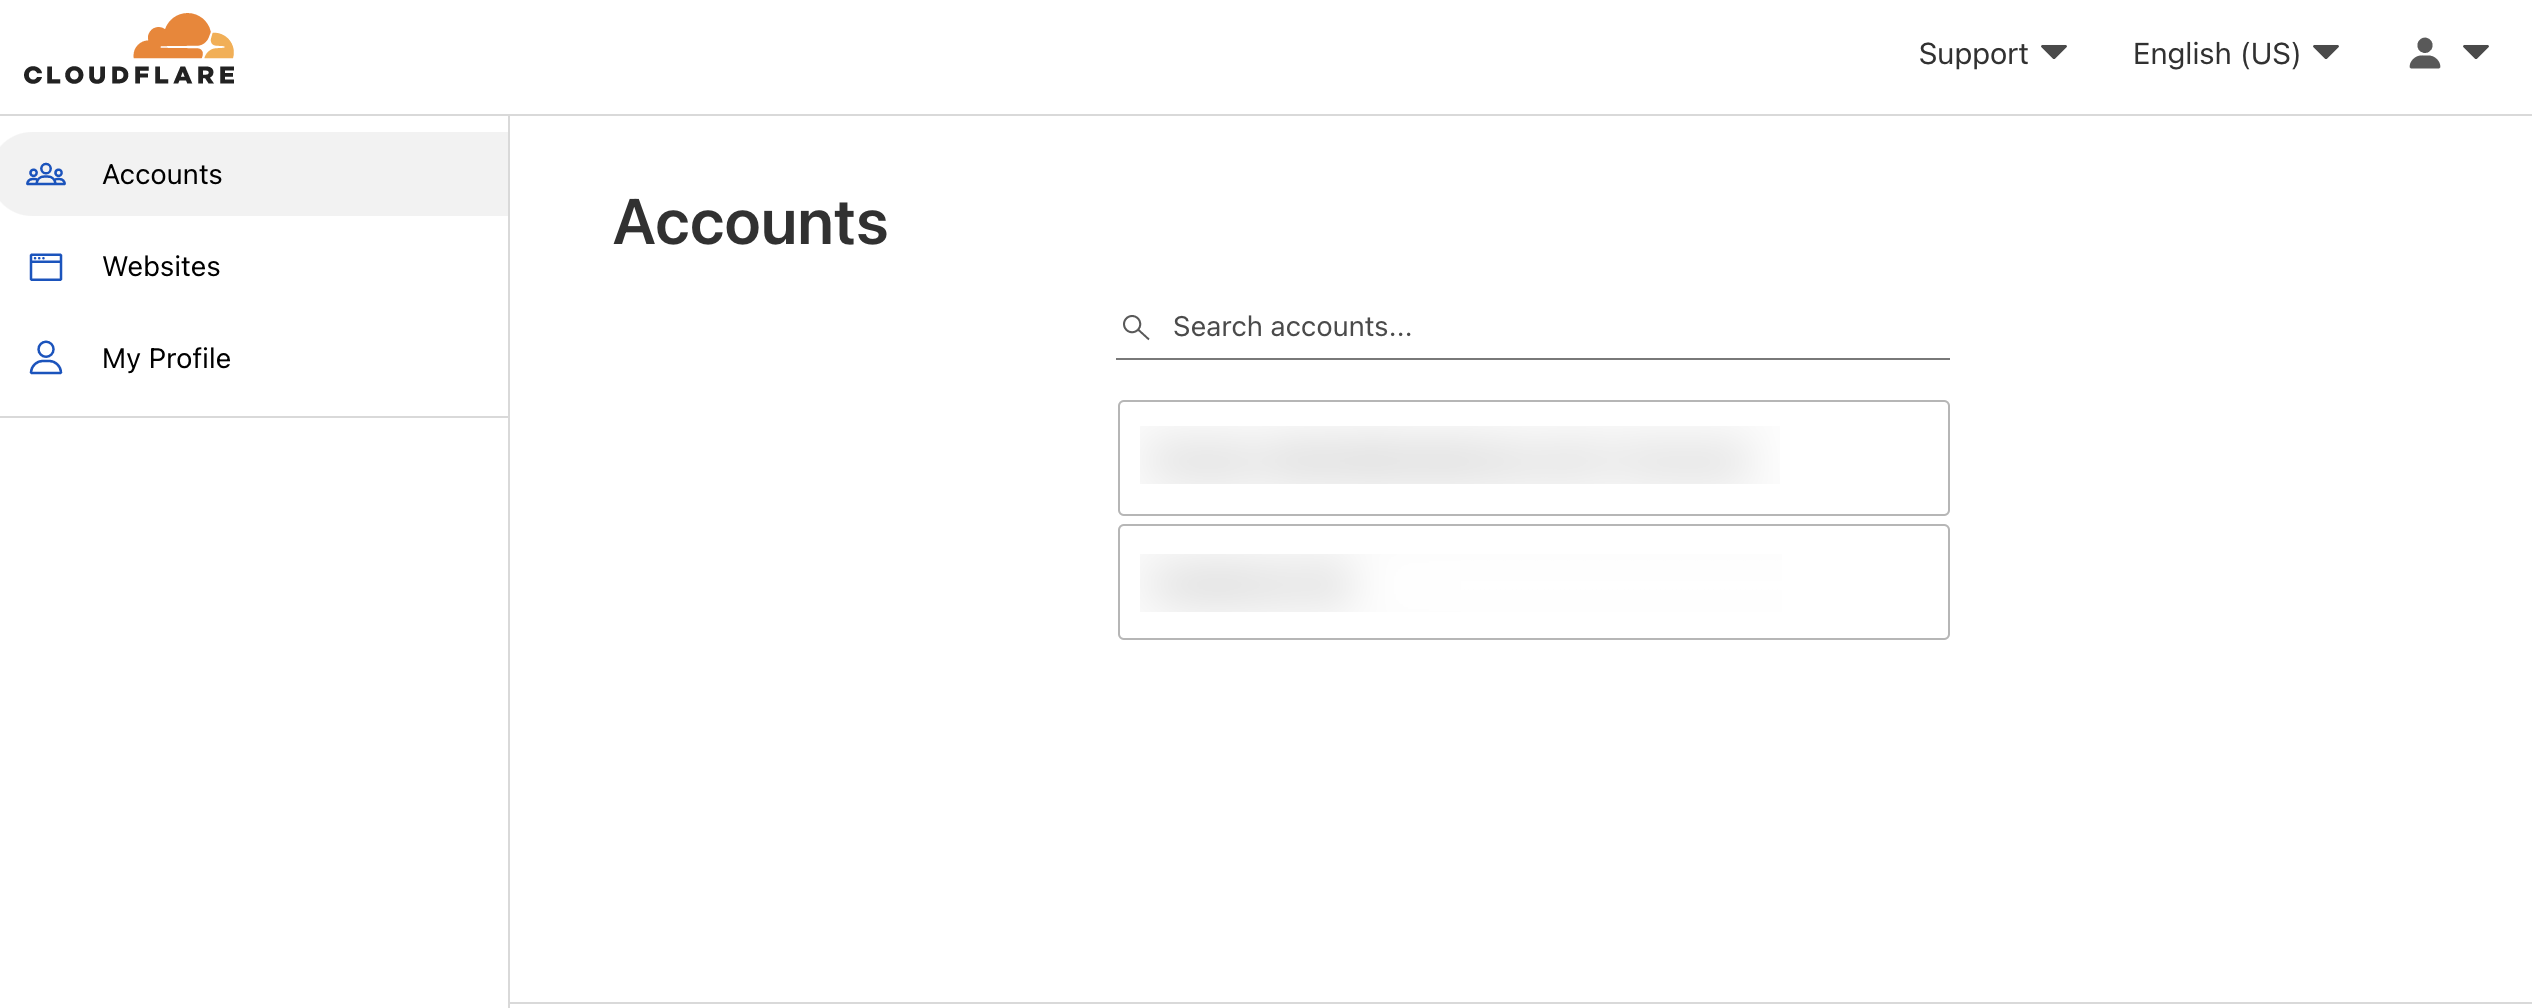
- Click on the user button at the top right-hand side of the page then click 'My Profile'.
- Click on 'API Tokens' on the left-hand side menu.
- Click on 'Create Token'.
- Find the token template that is called 'Read all resources', then click 'Use template'.

- On the next page, scroll to the very bottom, then click 'Continue to summary'.
- Then on the final page click 'Create Token'.
- Copy the displayed token.

Configuring the integration in Certificates
Once you have all of the information required, you can configure the integration in Certificates. Go to the Integrations page. Then click 'Add New Integration' and select Cloudflare.
- Then enter:
- 'Name' - a mandatory field. The name you would like to use for this integration. Use something that will make sense to you and your team.
- 'Cloudflare Customer ID' - a mandatory field. The Customer ID that you made a note of in the previous step.
- 'Tags' - this is optional. When this feature is used, then Certificates will tag any resources that we discover when running the integration.
- 'API KEY' - a mandatory field. This is the API key created in the previous step.
- Click "Save Integration".
- Once saved, click "Test" in the integration's actions in the table. If it succeeds, then ensure the integration is enabled and enable it otherwise using the row actions. Your new integration is now active and will run shortly.
Adding discovered domains to your Certificates inventory
Rather than immediately adding domains from integrations to your Certificates inventory, we give you the opportunity to review them first. This means you can check that they should be added to your Certificates inventory, and if so whether the domain should be monitored or not.
Common issues
If the integration fails then check that the:
- API key has been correctly copied.
- permissions match what we require.
Updated 6 months ago