Google Cloud Platform
Our Google Cloud Platform (GCP) integration enables you to connect to one or more GCP accounts, providing better network coverage and access to additional information. At this time, we use this integration to discover your registered domain names, your hosted DNS zones and the associated name records, and any cloud resources. This page explains how to connect an GCP project to your Certificates account.
Configuring a new integration
This integration requires restricted (read-only) access to your GCP projects that you wish us to integrate with. You will need to grant read-only permissions for some resources in your GCP project(s), to a Service Account which exists in Hardenize's GCP account.
- Open the Integrations page in a new tab.
- Click "Add New Integration", and select
GCPfrom the dropdown. - Enter a unique name to identify the integration and optionally enter something into the
Referencefield, if you want a way of associating the integration with a particular account or similar.
This form will show you a "Service Account Email". You will need this for the next step. Open the IAM Admin section of your GCP console in a new tab and then continue.
- Click "Add" in the GCP console.
- Enter the
Service Account Emailthat you were given into theNew Membersfield. - Decide which role that you would like Hardenize to use when accessing your GCP project. There are two predefined GCP roles that can be used:
- Security Reviewer (preferred) provides read-only access to a wide range of resources in the project. If you choose this option, you will not need to reconfigure your integrations in the future, as we expand our integration capabilities.
- DNS Reader use this option should you want to restrict our access only to Cloud DNS resources.
The full list of permissions given by each role can be found here.
- Click "Save".
Now go back to the Certificates website tab, and enter your GCP Project ID. If you have multiple GCP projects, you will need to create separate integrations for each of them. Click "Save Integration". Once saved, click "Test" in the integration's actions in the table. If it succeeds, then ensure the integration is enabled and enable it otherwise using the row actions. Your new integration is now active and will run shortly.
Operation of the integration
Once the integration is set up, you must then:
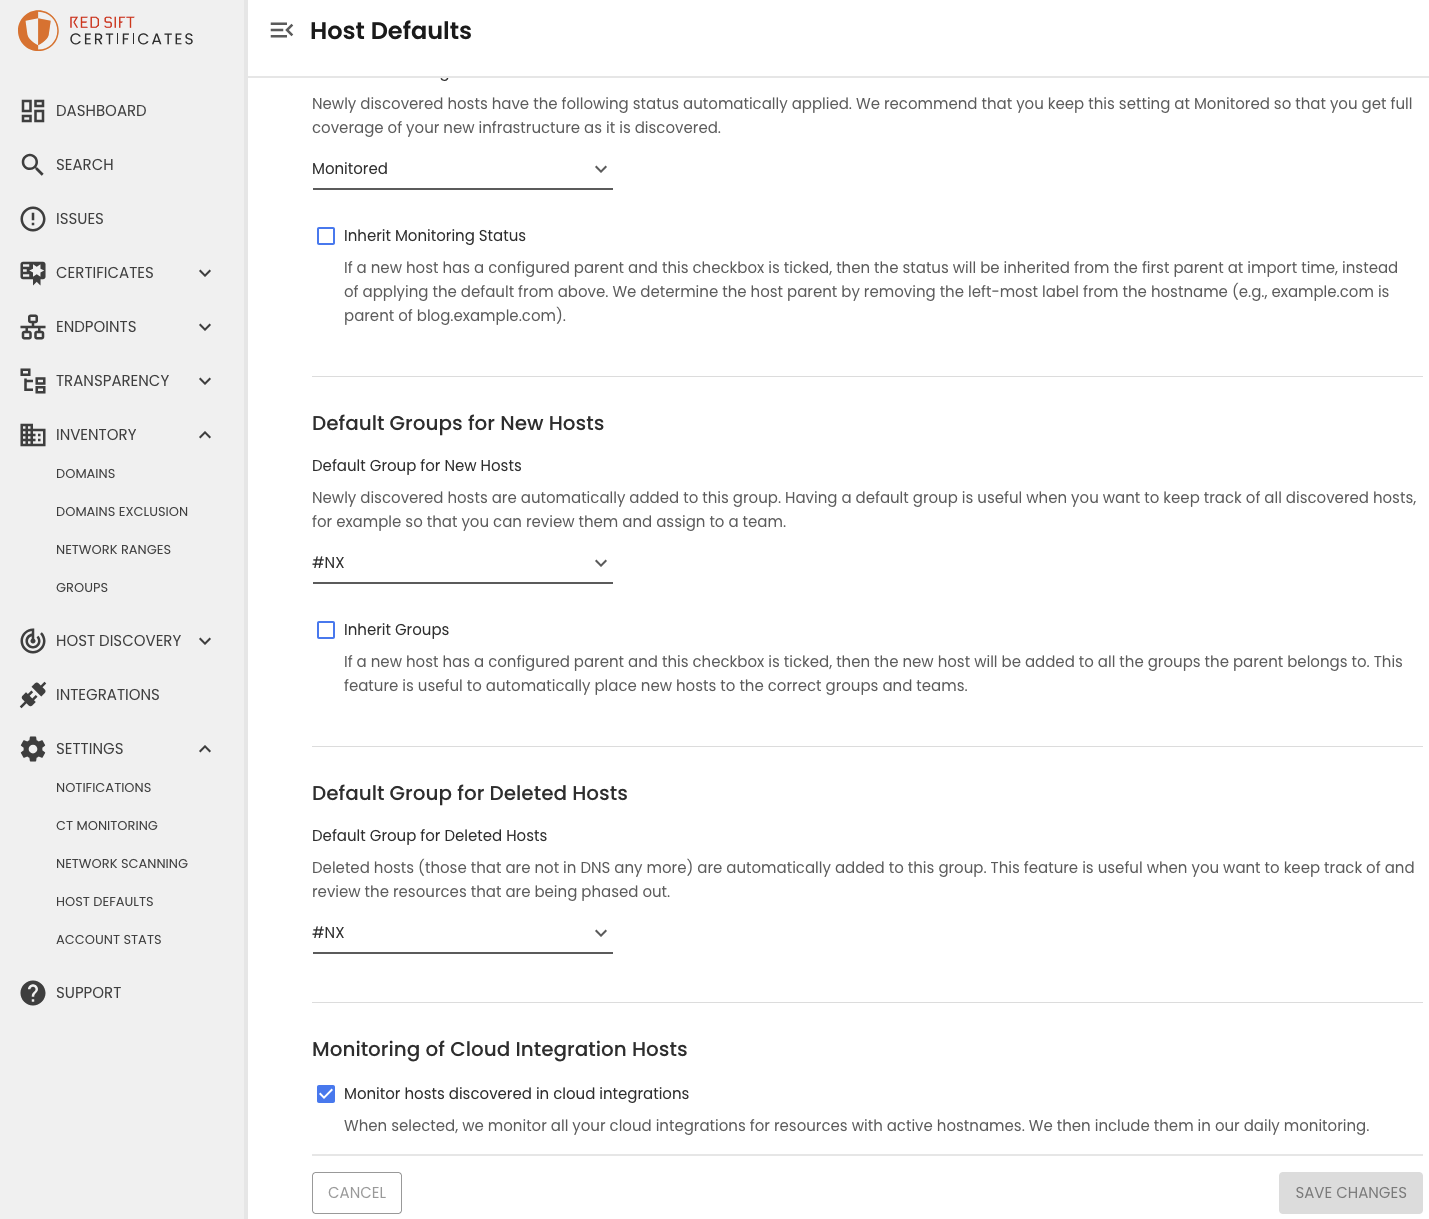
- Enable monitoring of cloud integration hosts. Visit the
Host Defaultspage under settings, tick 'Monitor hosts discovered in cloud integrations'.
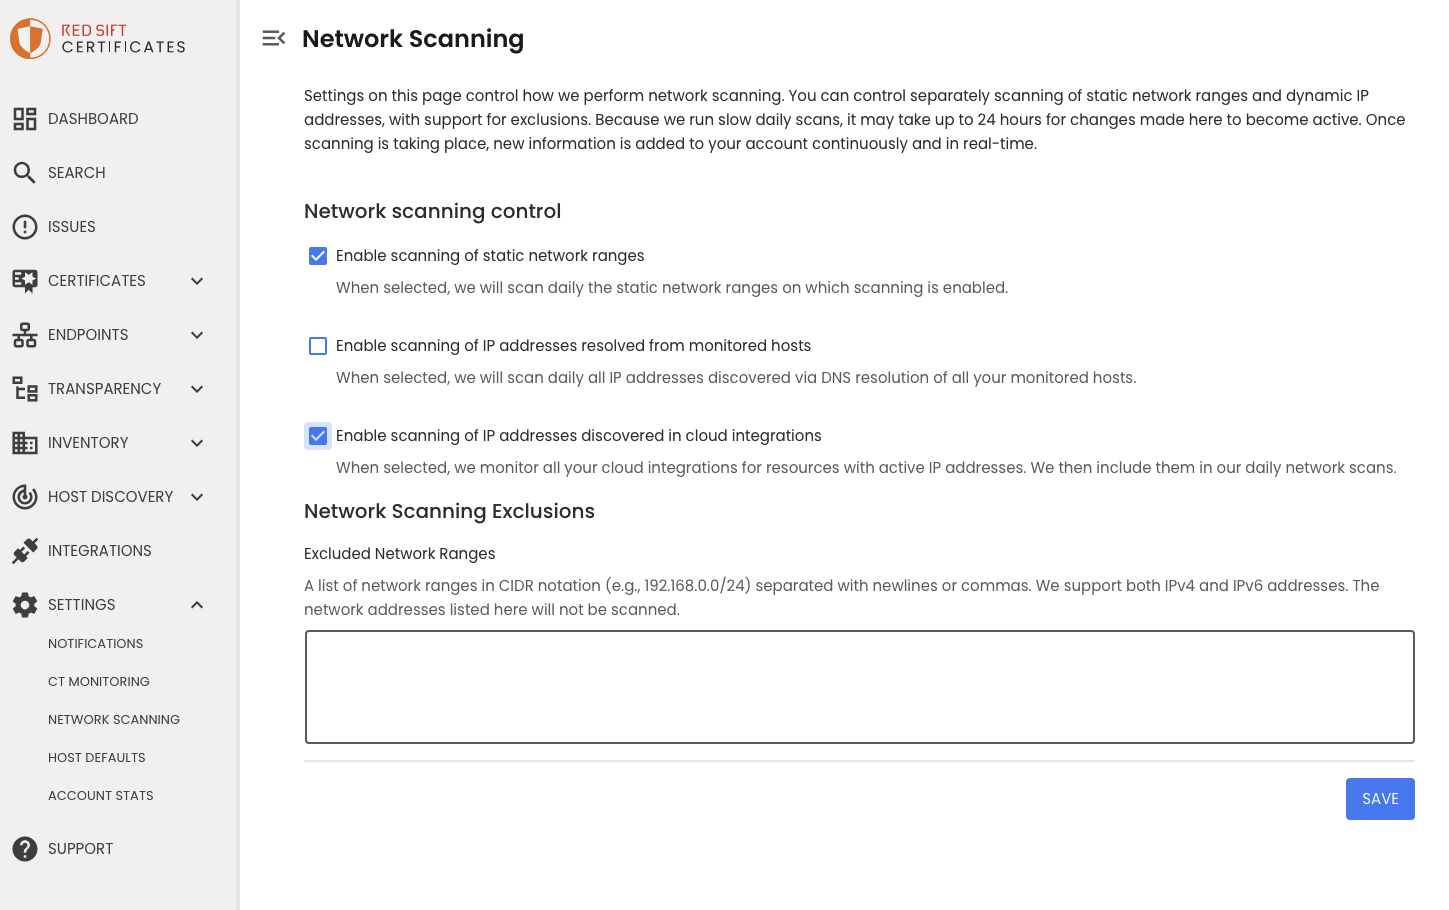
- Enable scanning of IP addresses discovered in cloud integrations. Visit
Network Scanningunder settings, tick 'Enable scanning of IP addresses discovered in cloud integrations'.
Our discovery process will connect to your GCP accounts once a day to:
- Import cloud resources.
- Import new domains. Discovered domains will then appear on the
Domainspage under "Inventory". You can use the controls on this page to import the discoveries into your inventory, optionally enabling monitoring. - Import DNS zones. If any of your monitored domain names have DNS servers GCP, we will automatically sync the hosts we discover and add them to your inventory.
Updated 6 months ago